We are on the edge of Hurricane Harvey!

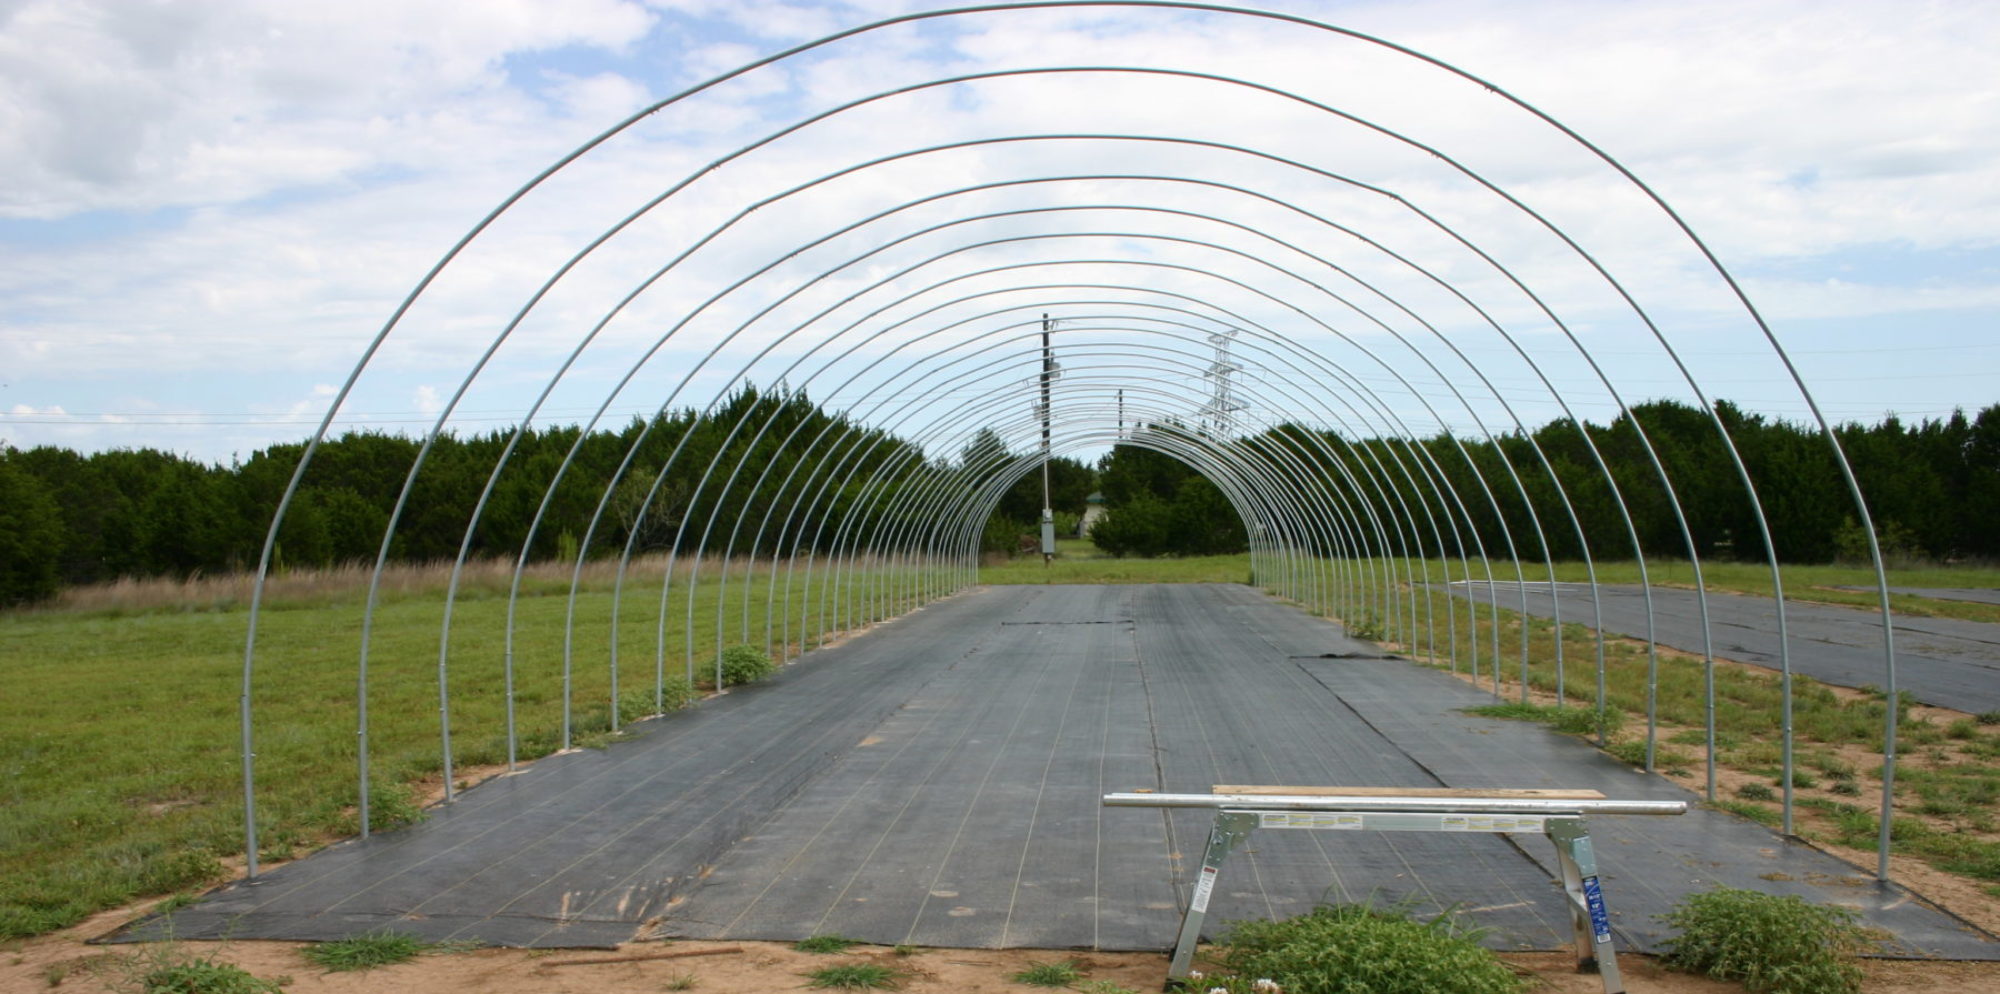
Steve hasn’t slowed down a minute this summer… making great progress on the greenhouse and seedling building! …until Hurricane Harvey hit this week (category 4, Houston is in big trouble), lots of rain! Harvey has not “huffed and puffed” enough to blow anything down, but it sure is wet!

In the meantime, we now have scaffolding!  Picked up scaffolding in Dallas, now we can get up high! The seed building roof is next and when completed will be followed by continued work on the greenhouse!  Thank you Lindsey, Dale, Pete and Hilary for your help!

We visited the local Farmer’s Market in the Seton Hospital front parking lot last Saturday (before Harvey)!  Vendors from all over.  Many vendors alternate attendance at this farmer’s market with several different farmers markets in the Central Texas area.

— Rachel Glass

It’s Summer in Ding Dong… average wind about 7 MPH

Rachel had a great idea! We used some of our shade cloth to cover the building. Heat exhaustion is no fun. I did that before when I was invincible young man just out of college. When I get back in the field to add the parallel support lines and deep water culture troughs I can use it there as well!

Shade cloth

Have some leveling adjustments to make and then I start on the walls.

Seedling Building #1

The “seedling” building is underway.  8-ft x 20-ft. This building will be used to germinate seedlings for greenhouse #1. Later, another building will be built out next to the greenhouses. For now, this one will be close at hand and used for refining the process. Last weekend we measured out the space and determined the exact building location and placement. This weekend we went into town, picked up lumber and supplies and built the floor framework. We are painting as we go! A small elevation will allow water to run down the hill underneath the building and keep it dry!

In this building,  we will germinate the seeds of different kinds of leafy greens. Once germinated, seedling trays (2-ft by 4-ft) will be transferred to greenhouse #1 to grow for 6 weeks. Each tray, beginning at the front of the greenhouse will move down a trough of water each week. By the end of six weeks, each tray will reach the back of the greenhouse. Leafy greens will be harvested and go to market.

Form for bending the hoops

Each greenhouse hoop is comprised of 3, steel pipes. Each is carefully placed on a form, bent to create a continuous curve when attached to the other 2 pipes… It seems that it takes two people bending pipe from each end, at the same time to get the curve just right.

Setting the hoop support pipes

This is Ding Dong, foothills for the Texas Hill Country. That means ‘rock’ and a lot of it. Normally, you would be able to sink the support posts using an 8 pound sledge, but not here. To the rescue, on Bosch hammer drill with a 33″ 1 1/8 drill bit supplemented by a 15″ 1 1/2 drill bit.

Using the hammer drill, we were able to drill thru much of the limestone or at least shatter it enough to get the pipes in the ground. When it got really rough we would put the 1 1/2″ bit on to increase the diameter of the hole. We put water down the holes to help make the caliche  gummy while be hammered in the poles.


You can see the limestone coming from the  hole.

We would fill the hole with water, ream out the excess mixture, add more water, then set the pipe.

There are advantages and disadvantages to height!


Cutting hoop support structure

The greenhouse is designed to be 100 ft long. Requiring supports every 3 feet. Using 1 3/4 galvanized fence posts cut in half I prepped 34 pipes. Because of the wind, we decided to use long support posts. Once the posts are cut, one end is predrilled with a 1/4 hole 12″ from the top to anchor the hoop. 

Don’t forget to remove the burrs from the metal. If it doesn’t cut you it definitely will puncture the greenhouse covering.


Hoop-style greenhouse

In the process of building our first hoop-style greenhouse. Drilled holes 3-ft deep on each side for anchor poles that support/hold up each hoop.  Large drill bits, sledge hammers and a little water (water-hose) help “slide” the hoop pole down each 3-ft hole.